Welcome to Laser Craft.
Call: 0422070603
Menu

Laser Cut Model Building Guide

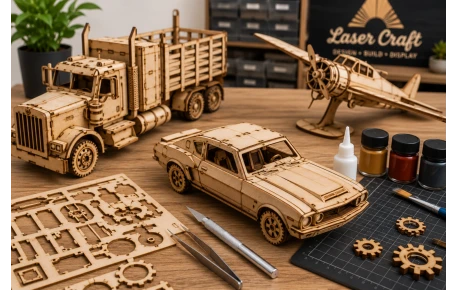
Building laser cut models is a rewarding hobby that combines creativity, patience, and attention to detail. Whether you are assembling vehicles, machinery, aircraft, animals, or landmarks, following a few simple techniques will help you achieve the best possible results.

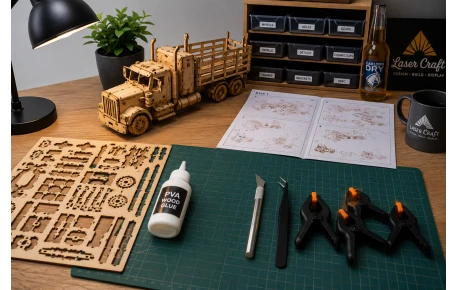
This guide covers the basics of preparing parts, assembly techniques, gluing, painting, and displaying your finished model.

Before You Start

Before starting your model, prepare a clean and well-lit workspace. Take a few moments to review the instructions and familiarise yourself with the major sections of the build.

For most models, you will only need:

  • PVA wood glue
  • Hobby knife
  • Small clamps or pegs (optional)

With a little preparation and patience, assembly becomes easier and far more enjoyable.

Assembly Tips & Techniques

Prepare Your Parts

Remove Parts Carefully Carefully remove parts from the laser-cut sheets. Take your time and avoid forcing parts free to prevent damage to smaller or more detailed components.

Dry Fit Before Gluing

Dry Fit Before Gluing Test fit parts before applying glue. This helps identify the correct orientation and ensures proper alignment during assembly.

Take Your Time

Take Your Time Work through the instructions step by step and avoid rushing. Building slowly often produces the best results and a better finished model.

Apply Glue Sparingly

Apply Glue Sparingly A small amount of glue is usually all that is required. Excess glue can affect the appearance of the finished model.

Painting & Finishing

Painting & Finishing Models can be painted using acrylic paints or left in their natural MDF finish. Apply thin coats and allow adequate drying time.

Display Your Model

Display Your Model Once completed, display your model on a shelf, desk, or in a display cabinet to protect and showcase your work.